Inspection flashlight with laser for manufacturing quality checks
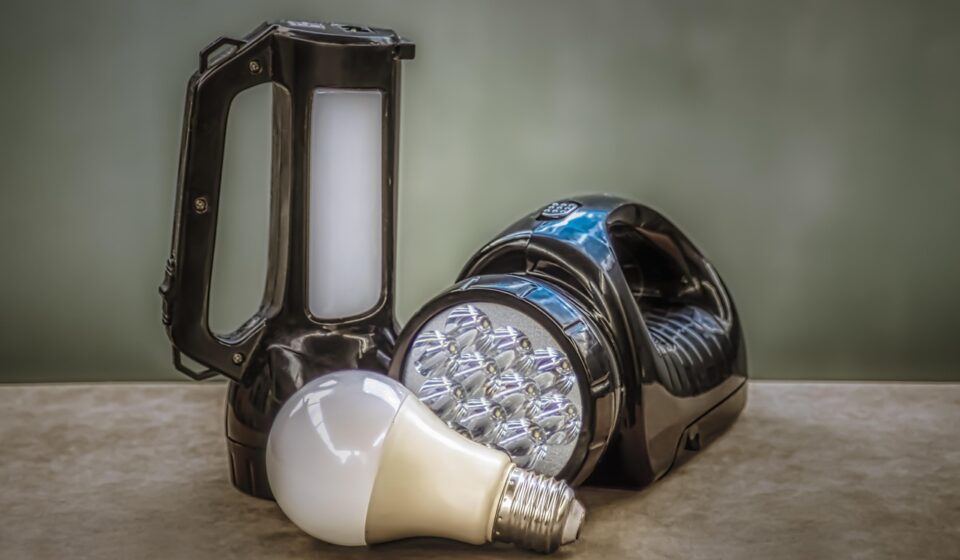
What an inspection flashlight with laser actually does
An inspection flashlight with laser is a handheld inspection tool that combines adjustable white light with a visible laser pointer or alignment beam. In manufacturing, the laser does not “find” defects on its own. The light makes surface condition, edges, contamination, scratches, weld profile, burrs, corrosion, leaks, and assembly details easier to see. The laser helps identify a precise location, trace a line of sight, or direct another person to a feature without touching the part. Used with a defined method, the tool can make visual inspection faster and more repeatable. Used casually, especially around reflective metal, it can create glare, false confidence, or an avoidable laser-safety risk.
For tooling, fixtures, weldments, machined parts, castings, stamped components, and maintenance checks, the tool should be treated as part of a controlled inspection method, not as a generic pocket light. Procurement should look beyond brightness and consider beam quality, color rendering, output control, durability, battery behavior, laser classification, labeling, and the inspection environment.

Where it fits in manufacturing inspection
Visual inspection remains one of the most common quality activities because it is immediate, flexible, and inexpensive compared with many instrumented methods. It is often used before, during, and after fabrication or assembly to decide whether a surface or feature needs closer measurement, rework, cleaning, or nondestructive testing. An inspection flashlight with laser is useful when the inspector needs both illumination and a precise way to identify a small area quickly.
Common manufacturing use cases include:
- Checking weld toes, undercut areas, porosity indications, spatter, surface contamination, and access-limited weld zones.
- Inspecting machined pockets, drilled holes, threaded features, keyways, grooves, casting surfaces, and deburred edges.
- Reviewing tooling wear, fixture contact marks, clamp positions, punch edges, die surfaces, and setup alignment references.
- Pointing out a suspect area during quality review, shift handoff, training, supplier inspection, or maintenance troubleshooting.
- Tracing a line of sight across a part, machine guard, conveyor, or fixture without placing a hand near moving or hot equipment.
The tool is most valuable when it complements gauges, mirrors, magnifiers, borescopes, cameras, and written acceptance criteria. It should not replace dimensional measurement, calibrated surface inspection, penetrant testing, magnetic particle testing, ultrasonic testing, or other specified inspection methods where those methods are required by a drawing, code, purchase order, or quality plan.
Key specifications that matter more than peak lumens
Many buyers start with maximum lumen output, but maximum brightness alone is not a reliable measure of inspection value. Too much light can wash out surface texture, produce harsh reflection on polished or machined metal, shorten runtime, and make fine contrast harder to judge. A better specification balances brightness with beam shape, adjustability, color quality, and repeatability.
| Specification | Why it matters | What to check before buying |
|---|---|---|
| Adjustable output | Different surfaces need different light levels. Dark castings, polished stainless, painted parts, and weld zones behave differently. | Look for multiple steady modes and avoid relying only on turbo output. |
| Beam pattern | A flood beam covers a broad area; a tight spot helps inspect recesses. A harsh hotspot can hide details. | Test on actual parts or request beam photos at working distance. |
| Color rendering | Better color rendering can help distinguish heat tint, contamination, coating variation, corrosion products, and material discoloration. | Ask for CRI or color-rendering information if color judgment is part of the inspection. |
| Color temperature | Very cool light may increase glare; very warm light may reduce perceived contrast on some metals. | Choose a neutral beam when inspectors compare different surfaces under one procedure. |
| Runtime behavior | Some lights step down quickly as heat rises or battery voltage falls. | Review runtime curves, not only headline runtime claims. |
| Ingress and impact resistance | Inspection tools are exposed to coolant mist, dust, chips, oil, rain, and drops. | Prefer clearly stated water, dust, and impact ratings. |
| Laser class and controls | The laser introduces an eye-safety and reflection-control issue. | Verify class, wavelength, output, warning label, aperture location, and separate switch behavior. |
ANSI/PLATO FL 1 is the common flashlight performance framework used to describe light output, beam distance, peak beam intensity, runtime, impact resistance, and water or dust protection. For procurement, those categories are useful because they push buyers to compare measured claims rather than vague marketing language. Even so, FL 1-style performance data does not tell the whole inspection story. It does not determine whether a beam will reveal a particular defect on a particular surface, whether the switch is glove-friendly, or whether the laser is appropriate for a reflective production area.
How to evaluate the laser feature
The laser on an inspection flashlight should usually be treated as a pointing and communication aid. It can help an inspector tell a colleague “look here,” mark a location from a safe distance, or align attention across a fixture or machine. It should not be assumed to provide calibrated measurement unless the manufacturer specifically states a measurement function, accuracy, range, and calibration method.
Class, labeling, and output
In the United States, laser products are subject to federal performance and labeling requirements. Public FDA materials describe laser product classes and labeling expectations, while OSHA materials emphasize hazard recognition and appropriate protection for laser exposure. For shop-floor purchasing, the practical point is straightforward: do not buy an inspection light with an unlabeled or unclear laser. The product should identify the laser class, wavelength, maximum output where applicable, aperture location, and safe-use warnings.
Class 2 and Class 3R visible lasers are commonly encountered in pointing and alignment products, but they are not interchangeable from a risk standpoint. A Class 3R beam can be hazardous under direct viewing or specular reflection conditions, especially when the eye is aligned with the beam. Reflective machined surfaces, polished stainless steel, chrome, mirrors, and wet curved surfaces can create unexpected reflections. If the work involves optical aids, confined spaces, aircraft operations, public areas, or high-reflectivity parts, the safety review should be more conservative.
Control design
A good inspection design separates the light control from the laser control so the operator does not activate the laser accidentally while changing brightness. A recessed switch, momentary-only laser activation, lockout mode, or clear tactile difference between buttons can reduce mistakes. The laser aperture should be easy to identify, and the tool should not roll unpredictably when placed on a bench or machine surface.
Color and visibility
Red and green lasers are both common. Green is often more visible to the human eye under many lighting conditions, but visibility is not the only factor. Battery demand, ambient light, surface color, glare, regulatory labeling, and safe-use procedures all matter. The right choice is the lowest-risk laser that is visible enough for the intended working distance and environment.
Inspection technique for reliable visual checks
Technique matters as much as hardware. The same flashlight can reveal or hide a defect depending on angle, distance, intensity, and surface condition. A practical procedure should define how the light is used, especially when inspection results affect acceptance decisions.
- Prepare the surface. Remove loose contamination if the inspection procedure allows it. Oil, scale, dust, coolant, and fingerprints can mimic or hide indications.
- Start with general lighting. Use broad illumination to understand the part, orientation, access limits, and obvious discontinuities.
- Change the angle. Grazing light across the surface can cast shadows from scratches, undercut, raised burrs, dents, and edges.
- Control glare. Reduce output or move the beam off-axis when polished metal reflects directly back to the inspector.
- Use the laser only to point. Activate it briefly to identify a feature, then turn it off before close viewing, photographing, or discussing the area face to face.
- Confirm with the required method. If the quality plan requires a gauge, magnifier, surface comparator, borescope, penetrant test, or dimensional measurement, use that method before accepting or rejecting the part.
- Record conditions when needed. For regulated or customer-critical work, note lighting conditions, tool identification, inspection distance, date, inspector, and acceptance standard.
Standards and guidance documents in welding and nondestructive testing consistently treat viewing conditions as part of the inspection method. ISO 3059, for example, addresses viewing conditions for penetrant and magnetic particle testing when the human eye is the primary detection aid. AWS visual weld examination guidance also recognizes lighting equipment as part of the visual examination environment. The broader lesson is that illumination is not a casual detail; it can affect whether an indication is seen, missed, or misinterpreted. See also: cnc and robotics.
Selection checklist for tooling and inspection teams
Before standardizing an inspection flashlight with laser, quality and maintenance teams should run a short trial on real parts rather than relying only on catalog specifications. The trial should include representative materials, surface finishes, ambient lighting, gloves, inspection distances, and documentation needs. For more articles on practical shop-floor tools, see the tooling and inspection section.
- Define the task first. Is the tool for weld inspection, machine maintenance, incoming inspection, mold repair, assembly audit, or general quality review?
- Confirm the laser classification. Reject products with missing or vague laser labels, especially for shared shop-floor use.
- Evaluate beam quality on actual defects. Use sample parts with known scratches, burrs, cracks, weld profiles, corrosion, or finish variations.
- Check low and medium modes. The most useful inspection setting is often not the brightest setting.
- Assess handling with gloves. Switches, clips, magnets, charging ports, and lockout features should work under real conditions.
- Review battery policy. Decide whether rechargeable, replaceable, or standardized cells best fit the plant’s shift pattern and maintenance system.
- Consider contamination control. Smooth bodies, sealed switches, and cleanable lenses matter in oily, dusty, or food-adjacent environments.
- Write a short work instruction. Include laser precautions, inspection angles, minimum condition for use, and escalation steps.
Procurement teams should be cautious with broad claims such as “detects all cracks” or “inspection grade” when no test conditions are provided. A flashlight cannot guarantee defect detection on its own. Its value depends on the inspector’s training, the acceptance criteria, the viewing conditions, and the follow-up method.
Limitations and risk controls
An inspection flashlight with laser has clear advantages, but it also has limits. The flashlight may not reveal subsurface defects. The laser may distract from the actual inspection if operators use it like a marker instead of a pointer. High output can overheat small lights or trigger automatic step-down. Reflections can create eye hazards or make photos unusable. In hazardous locations, ordinary handheld lights may also be inappropriate unless they carry the required rating for the environment.
Basic controls should include training, labeling review, controlled storage, damaged-tool removal, and a rule against pointing the laser at people, vehicles, aircraft, optical instruments, or reflective surfaces where the beam path is uncontrolled. If the plant already has a laser safety officer, EHS manager, or written laser procedure, the inspection light should be reviewed under that system before broad deployment.
The best approach is to treat the device as a useful accessory within a documented inspection process. It can improve communication, visibility, and efficiency, but it should not weaken acceptance discipline or replace required measurements.
Frequently asked questions
Is an inspection flashlight with laser a measuring tool?
Usually no. Most models use the laser as a pointer or alignment aid. It becomes a measuring tool only if the manufacturer specifies a measurement function, accuracy, range, and calibration or verification method.
What laser class is suitable for manufacturing inspection?
The suitable class depends on the task, distance, reflectivity, work area, and safety program. For general pointing, many teams prefer the lowest-power visible laser that is adequate for the task. Any product used in a workplace should have clear laser classification and warning information.
How many lumens are needed for inspection?
There is no single lumen value that fits every inspection. Beam control, surface reflectivity, color rendering, angle, and working distance often matter more than maximum output. A light with stable low and medium modes may be more useful than a very bright light that creates glare.
Can the laser help find cracks?
The laser can help point to a suspected crack or feature, but it does not reliably detect cracks by itself. Surface-breaking cracks may require correct lighting angle, magnification, penetrant testing, magnetic particle testing, or another specified method depending on the material and acceptance standard.
Should the tool be included in inspection records?
For routine maintenance, that may not be necessary. For customer-critical, regulated, or code-driven inspection, recording the tool type, lighting condition, inspection method, and acceptance criteria can improve traceability and reduce disputes.